
The first day of Summer was a cheesy day at HHA! The kids loved it! 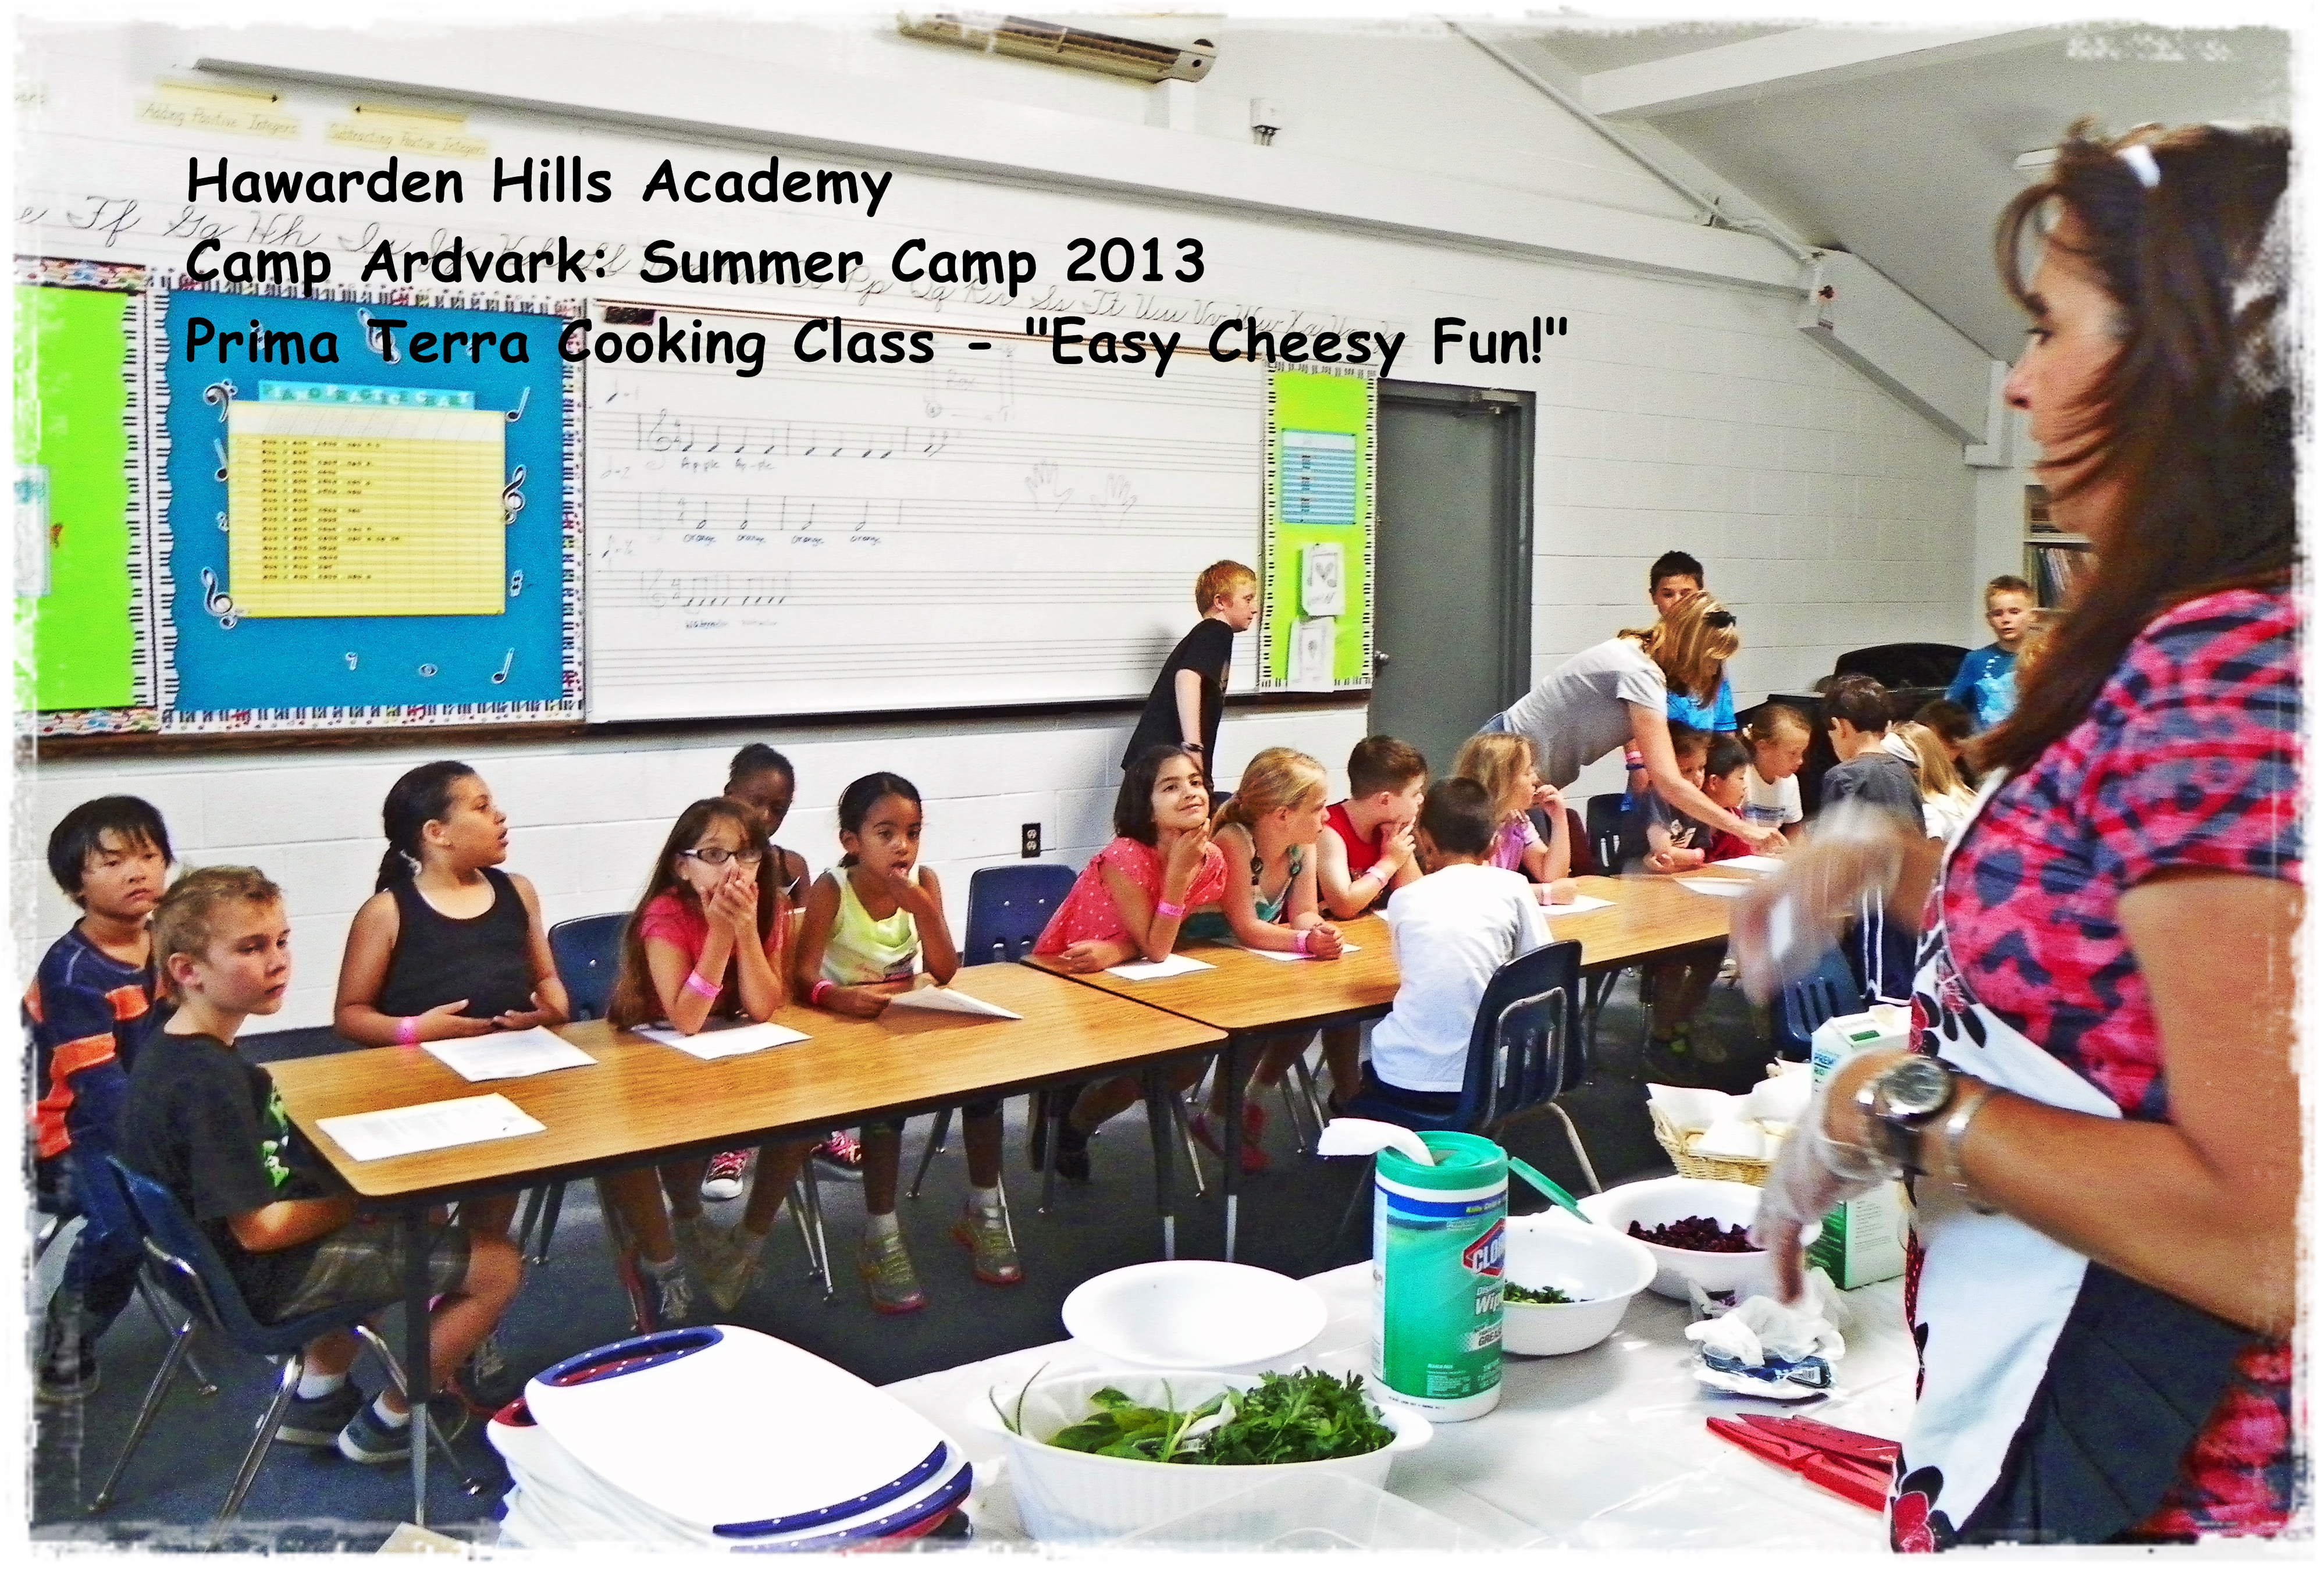
We made a simple farmer’s style cheese (recipe below). It was the perfect recipe for sharing with the kids–a lesson that provides instant results for sampling and sharing. Fresh cheese is so simple to make and requires no special equipment. The only ingredients you need are milk (regular whole pasturized milk from the grocery store is okay) and an acid, such a vinegar or lemon juice. It’s a great opportunity to teach the kids that simple foods made with fresh ingredients can be easy to make at home. They’ll learn that handcrafted foods will taste more flavorful and cost a fraction of the price their parents pay in the grocery store. I even got Garrett up early to help me out. He looks so happy, doesn’t he?

Ready to go! Thanks for helping, Garrett!
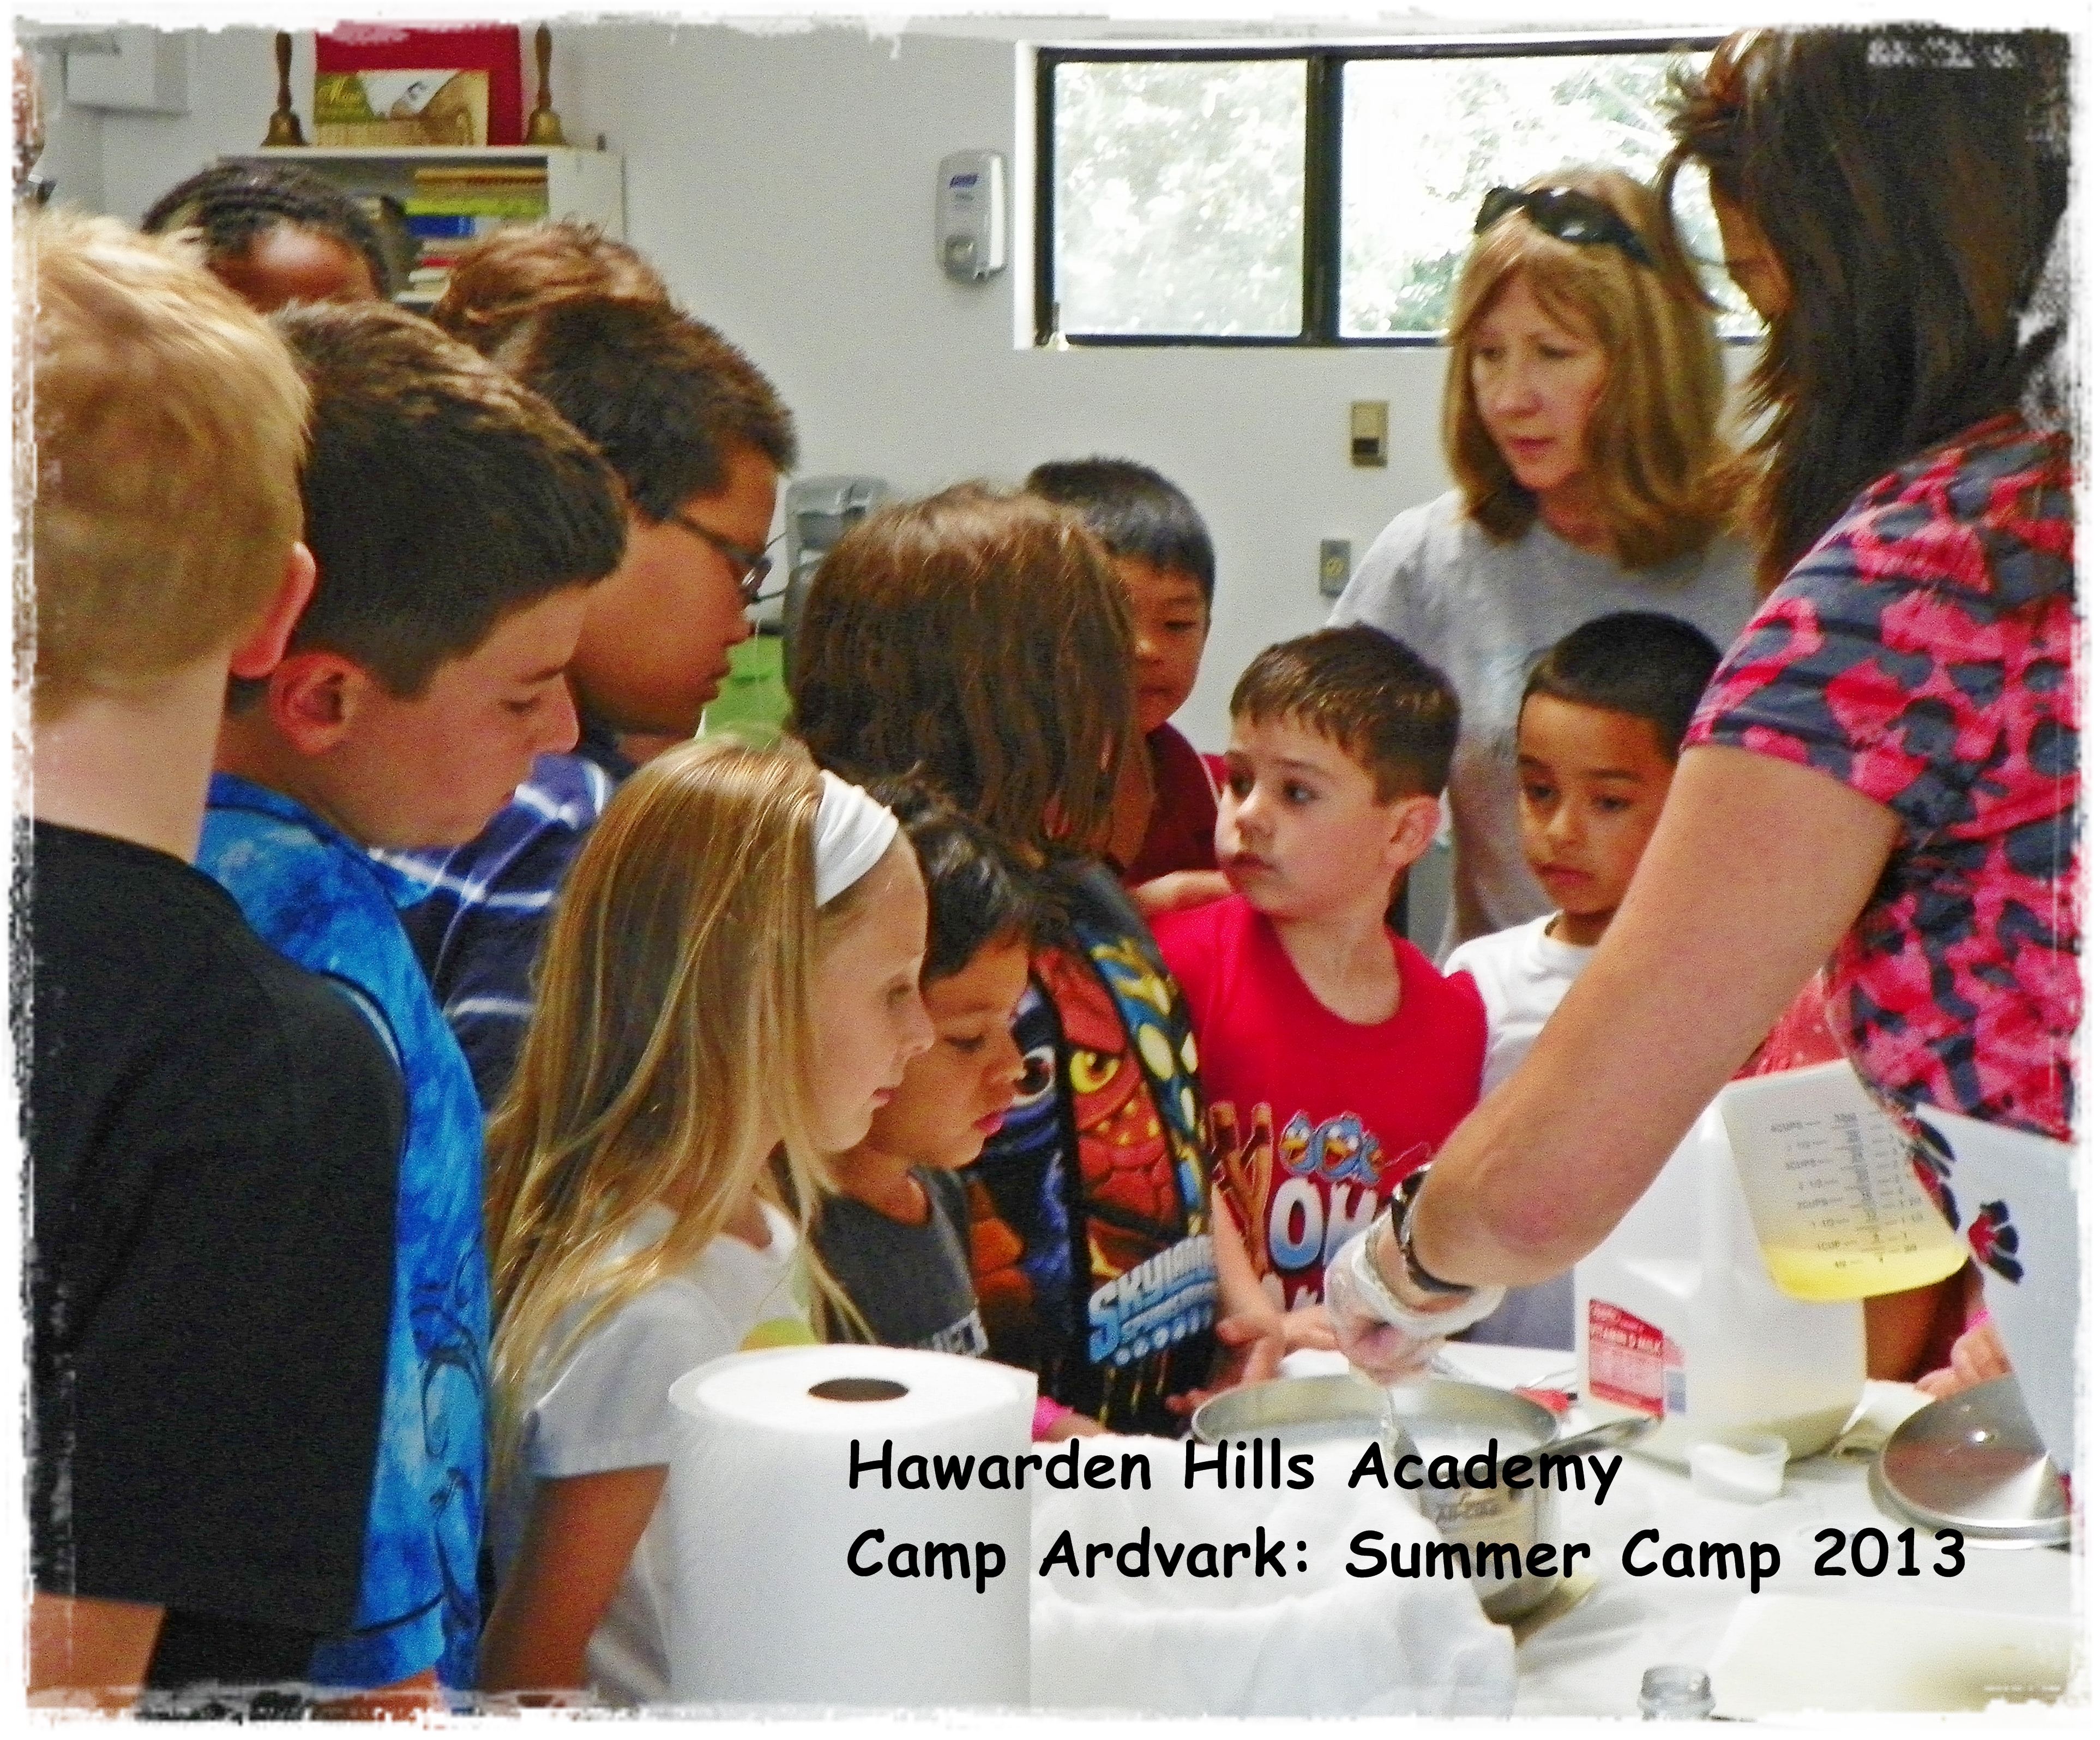
I got the other kids to help by letting them squeeze the lemons and prep the herbs. I had no problem getting volunteers to help out.

Any volunteers?

Chopping the herbs to flavor the cheese.
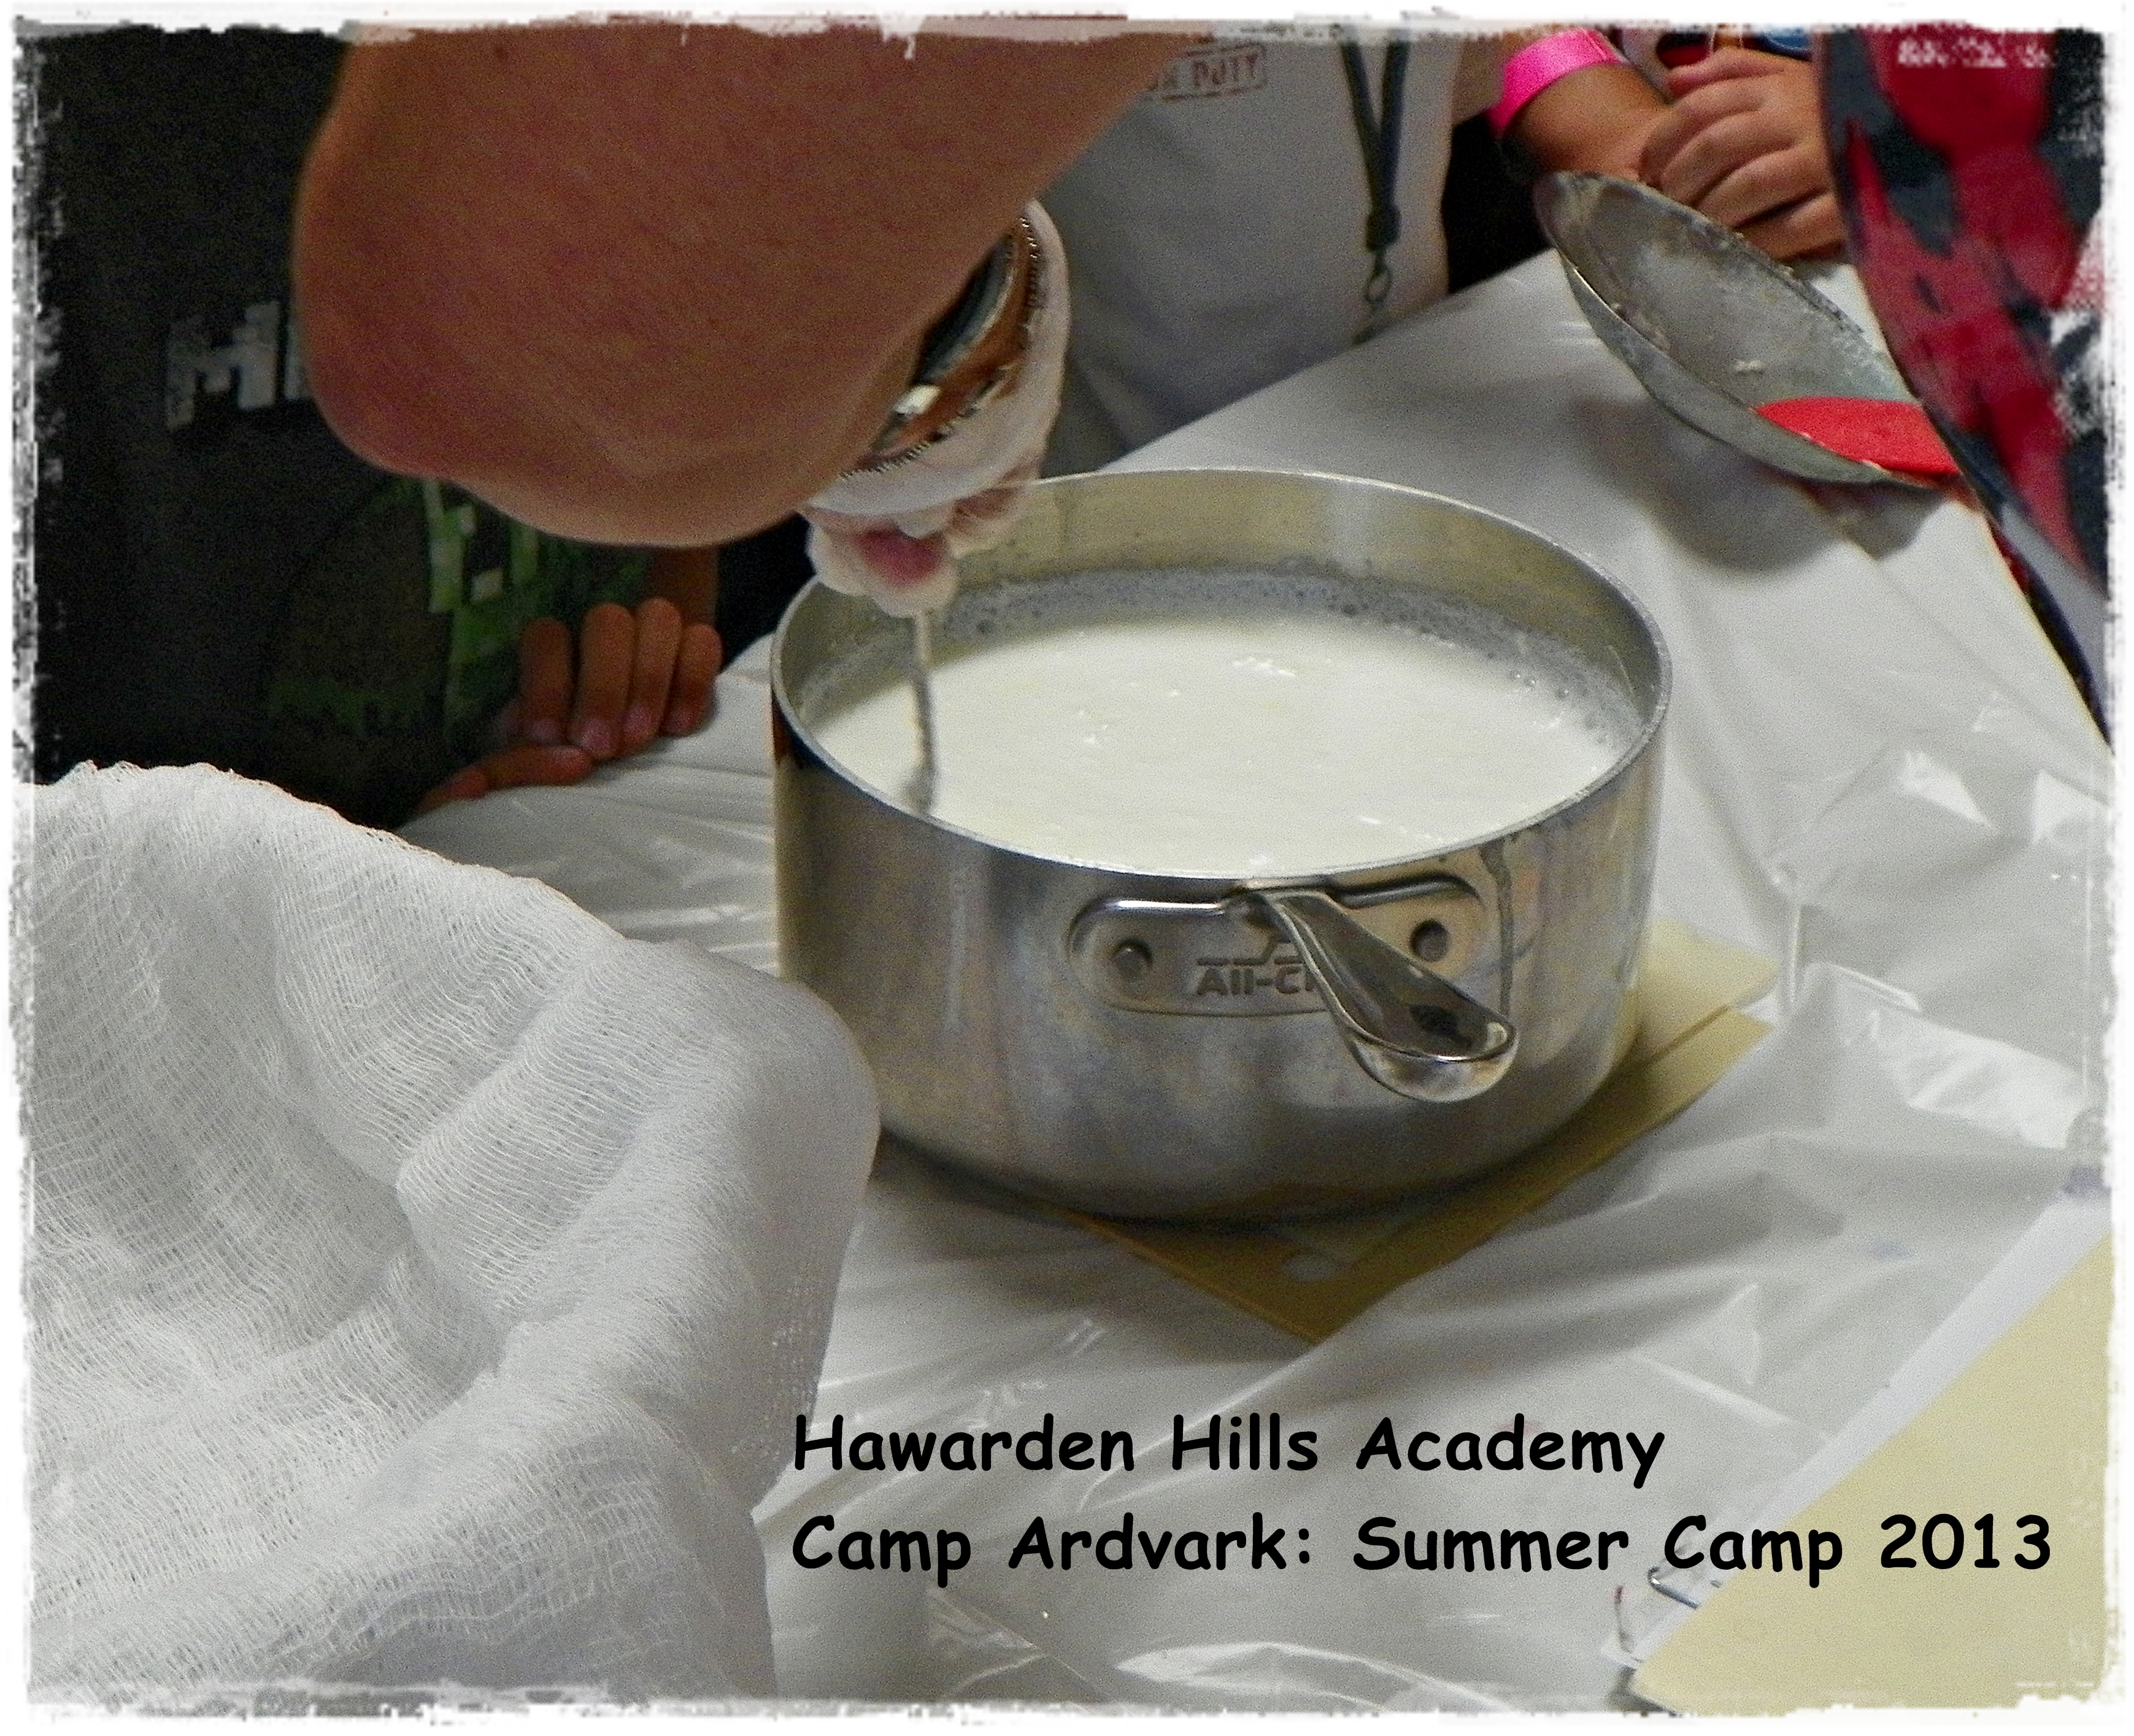
They all loved watching the curds form.
And most of the kids enjoyed tasting the cheese. I provided crackers and the kids had the options of adding a little honey and raisins to sweeten the cheese, or fresh herbs to keep it savory. A successful day!
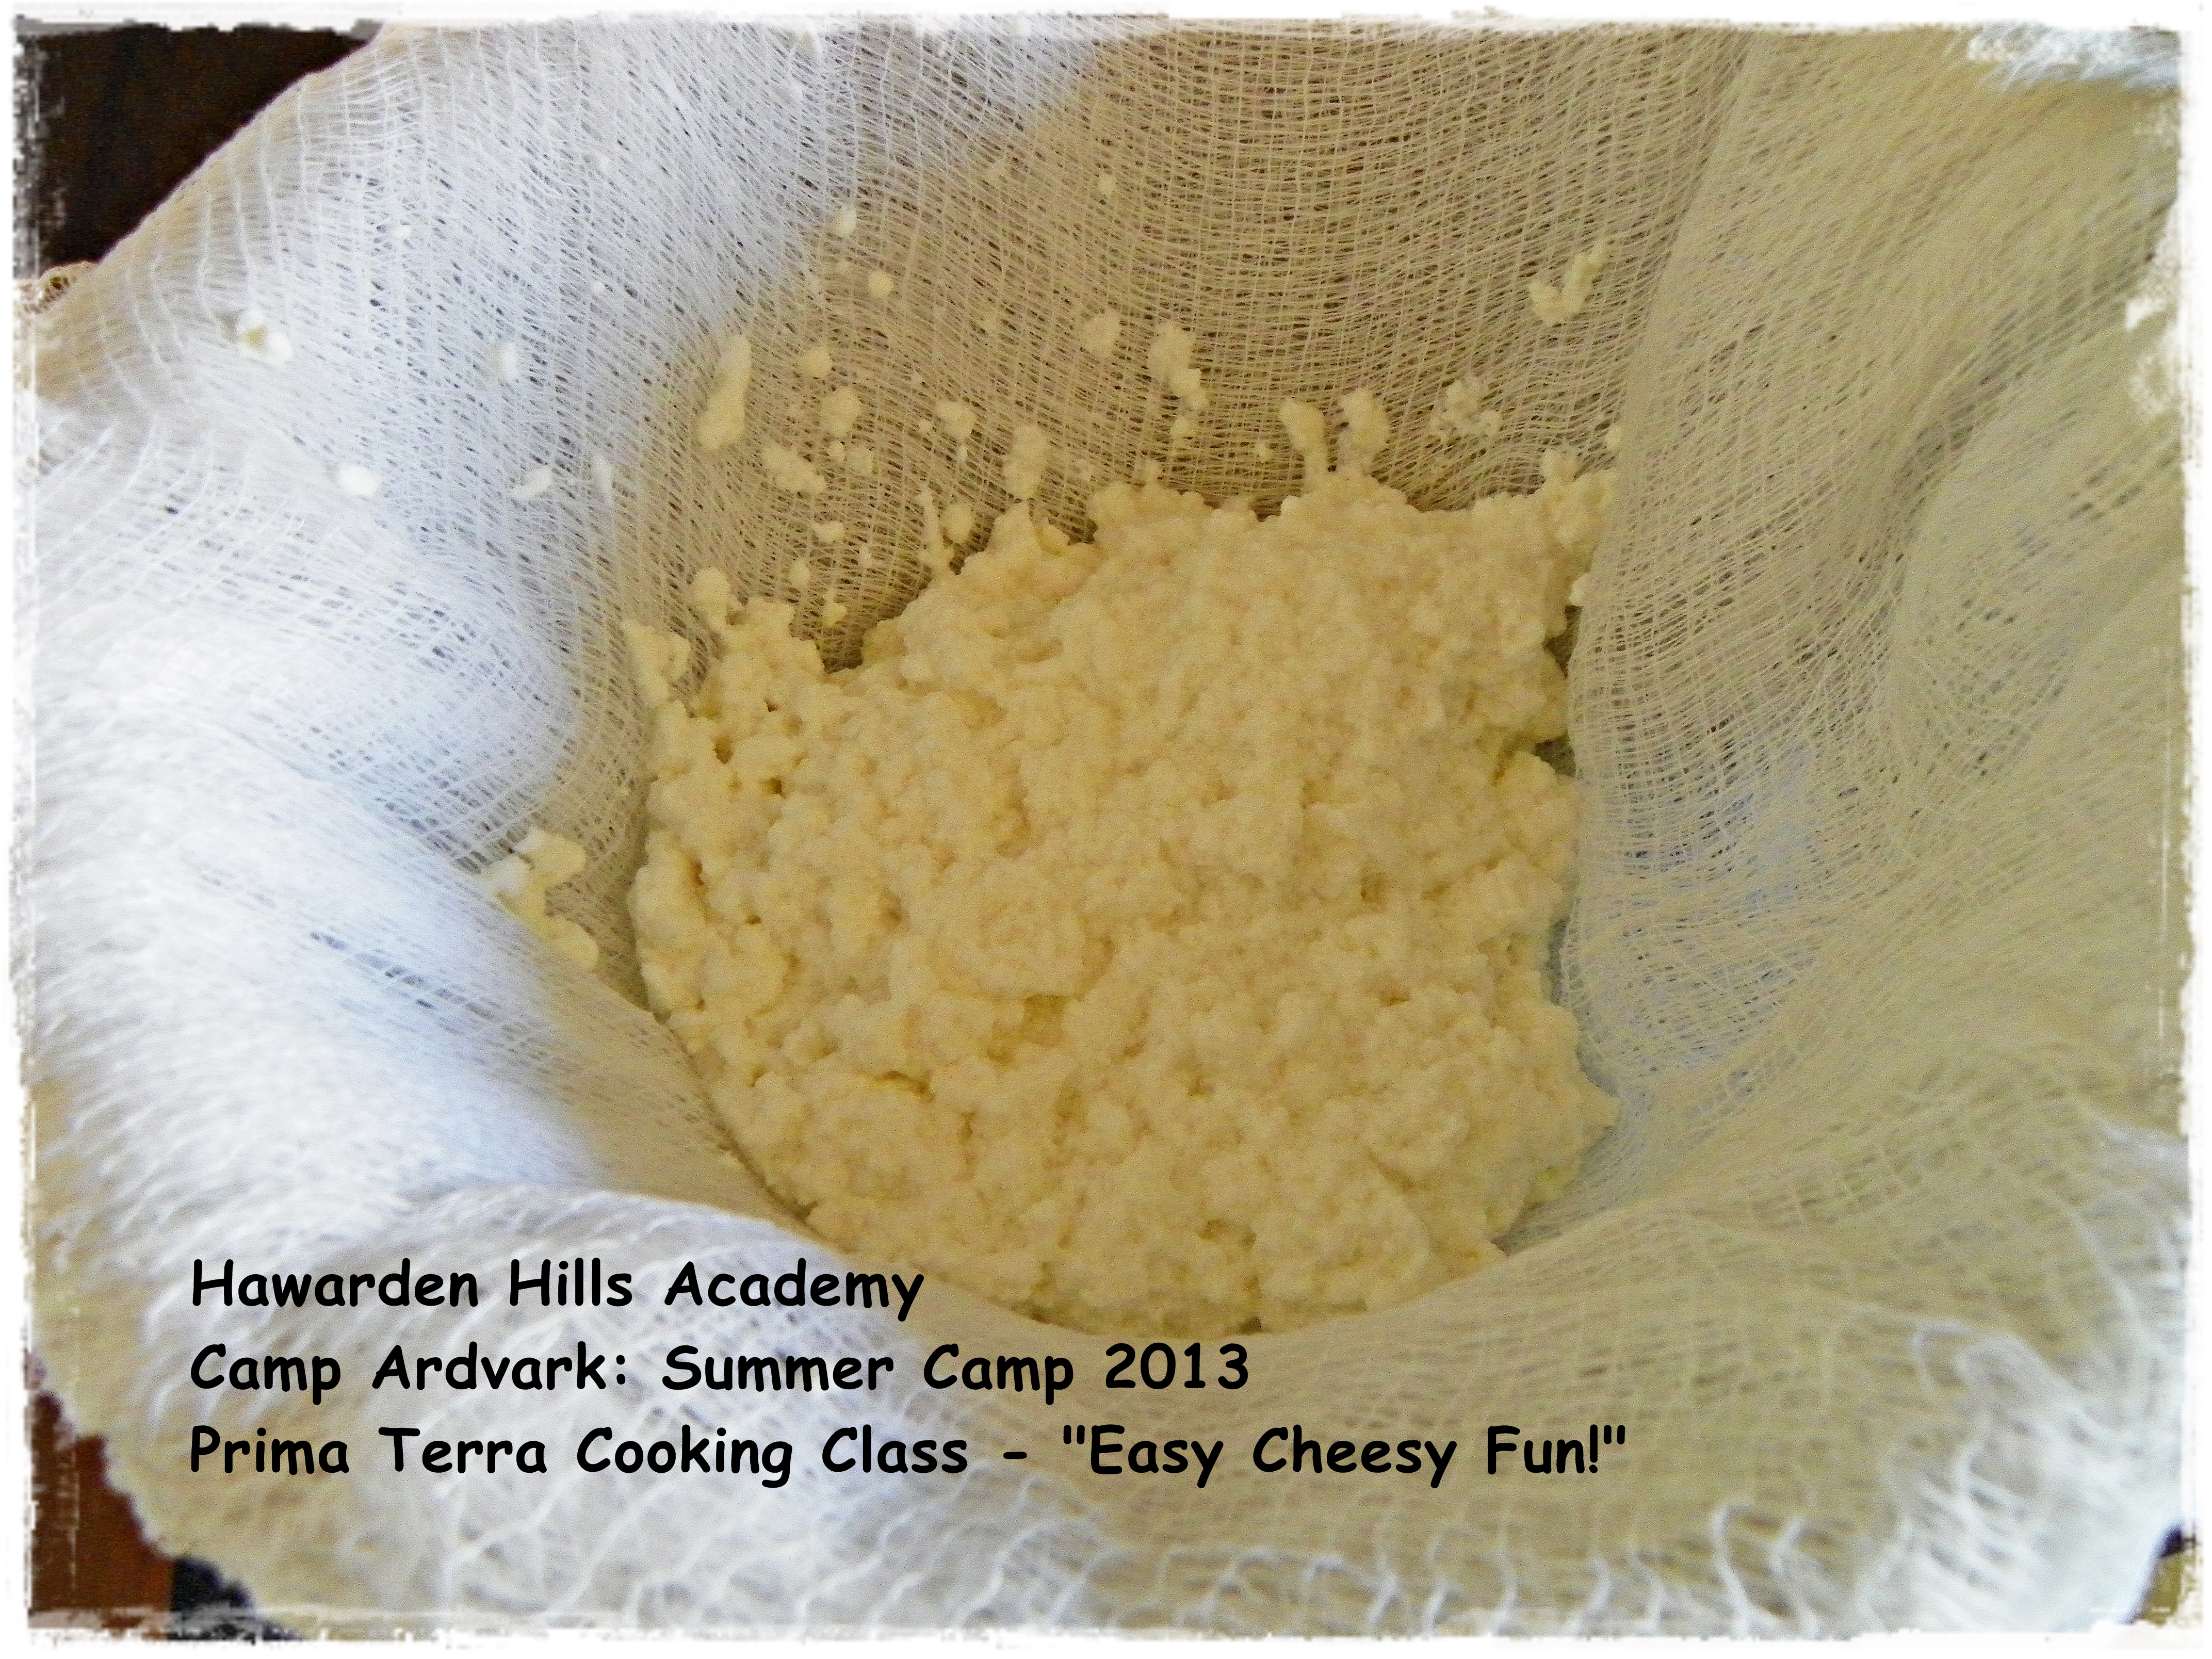
Fresh cheese!
Fresh Farmer’s Style Cheese
Ingredients:
- 1/2 gallon whole milk (preferably whole milk, but 2% works as well)
- Approximately 1/4 cup lemon juice, lime juice, or vinegar
- 1 teaspoon of salt
Instructions:
In a large pot over medium-high heat, gently bring the milk to 175 degrees Fahrenheit. Stir frequently to keep the milk from scalding. Once the milk reaches 175 degrees, turn off the heat. Add the salt and about 1/4 cup of lemon juice and stir well to distribute the acid throughout the milk (do not stir vigorously). Then let the milk sit for 15 minutes.
After waiting, the milk should be curdled, and the whey (the liquid) should be nearly clear (a little yellowish). If the curds are not well-formed and not separating clearly from the whey, add a little more lemon juice, stir gently, and give it a few more minutes. Depending on the acidity of the lemon juice, it may take quite a bit more. It won’t hurt to use more, but if you use more than necessary, the final result will have a stronger lemon flavor. Line a colander with cheese cloth or a clean dishtowel gently pour the curds into it. Allow it to drain and cool for a few minutes.
At this point you’ve made a soft, fresh, rich cheese. You can stir in seasonings at this point (crushed garlic and herbs, honey and fresh or dried fruit, etc.) or just go ahead and tie or twist the corners of the cheesecloth to form a tight pouch. If you want a firmer cheese, you can hang it to drain more, or put the pouch back in the colander with a weight on it to squeeze more of the liquid out.
The cheese will keep in the fridge for about a week. Enjoy! I used some of the cheese to make my roasted seafood chile rellenos. The mild flavor of the homemade cheese was perfect with the shrimp and scallops. Tell me if you’ve made cheese before! And please share this post!

This is great Laureen! What a cool idea! I’m teaching a kids class at the end of the summer and we might need to make cheese one of the days – I love the idea that they can all add what they like to make the cheese their own!! Thank you!!
You’re welcome! Cheese is a real fun one–and easy! I have some handouts I can share, History and fun facts about cheese. Let me know and I can email to you.
Very cool!